
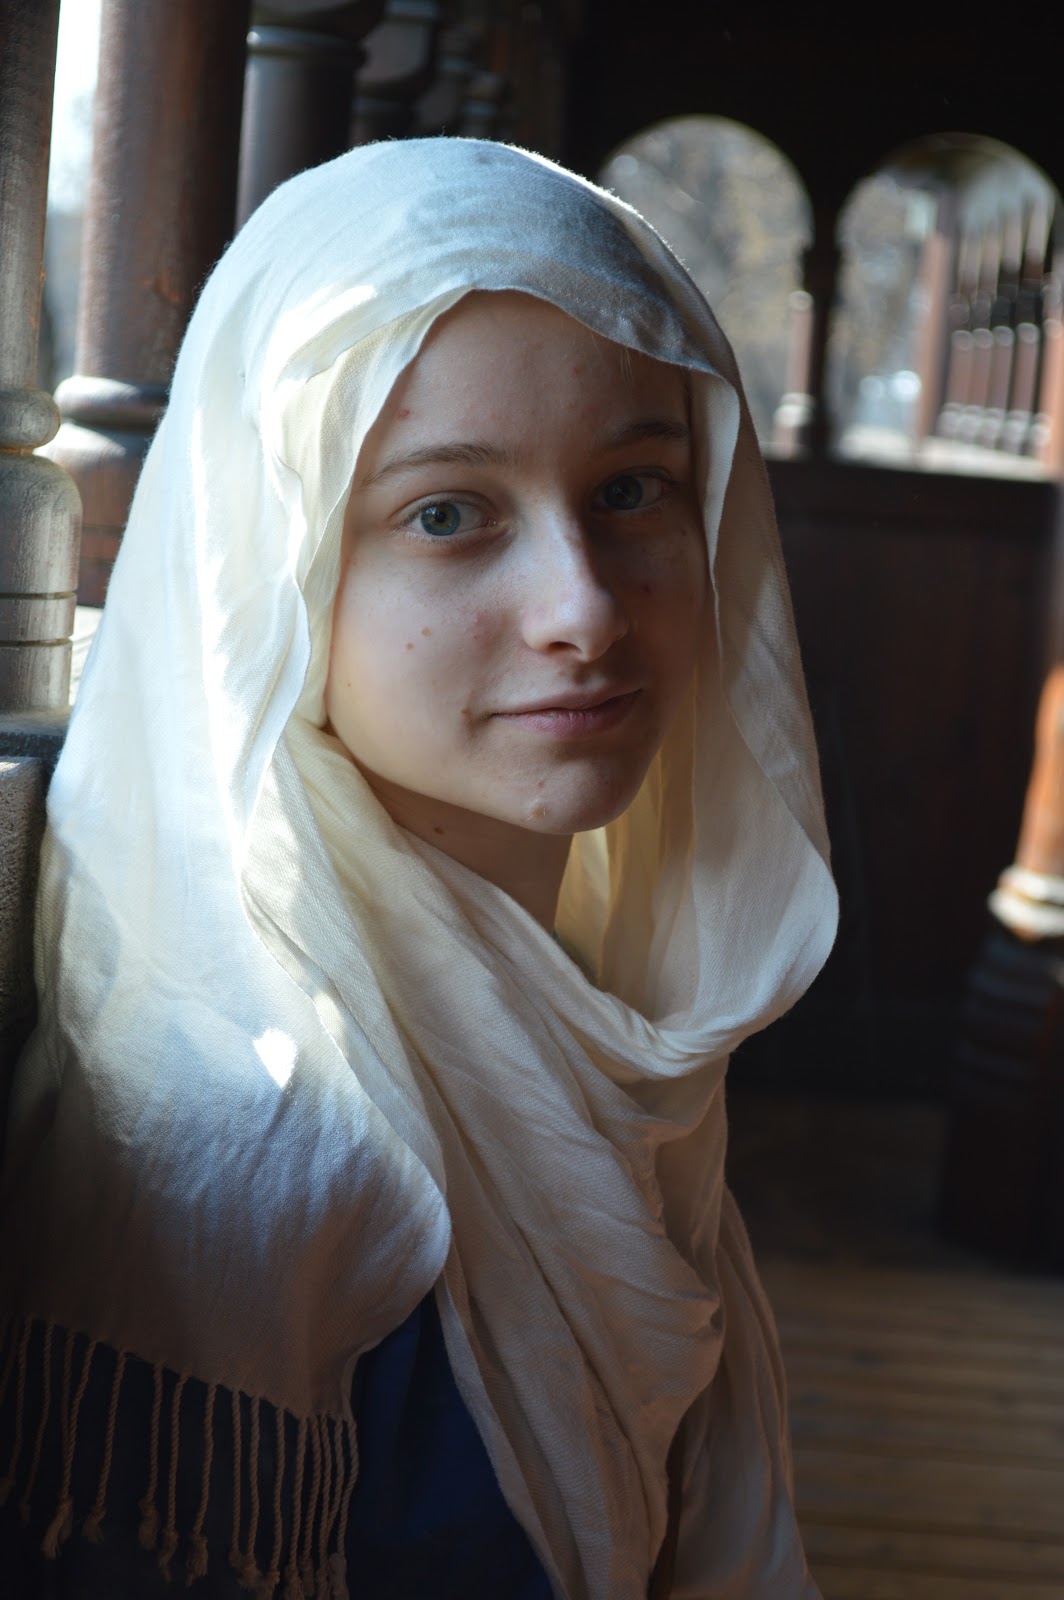
Step 2, essentials: Crop, straighten (in this picture you can tell I straightened it by looking at the arches in the background. It's a minor detail, but it bugs me if things are crooked), and exposure.

(looking good!)
Step 3: Details details details: in this case, I softened her skin a tad, brightened her eyes, and erased some tiny blemishes. I also added a custom effect of mine called "Urbepid" which is a cross between Urbane and Intrepid. Urbane adds a warm glow, and slightly darkens the edges, while Intrepid adds to the blue hues and brings out the shadows.

For a dreamier look, I tried "Spotlight." One has to be careful not to make her skin look too yellow with this effect.

For a drawn look, I used "Edge Sketch" and B&W.

And there you have it! Here's the original next to the finished photo:

Do you edit your pictures? I usually try to keep things simple and natural in my editing style.
I Haven't done any editing. I've thought about starting but wasn't sure where an editing program could be found, let alone which ones are trustworthy.
ReplyDeleteWhat kind of editing software do you use?
I use Picmonkey.com, and there's a free version and a paid version. My Grandpa bought me the paid version, but the free one is simpler and more basic. I really like Picmonkey!
DeleteThanks!
ReplyDelete